Vegetable Broth
Making your own broth at home is something that can save you money, make your meals taste significantly better (bye bland rice and quinoa) and it can add more vitamins and nutrients to your diet. Plus, this is a great way to reduce waste.
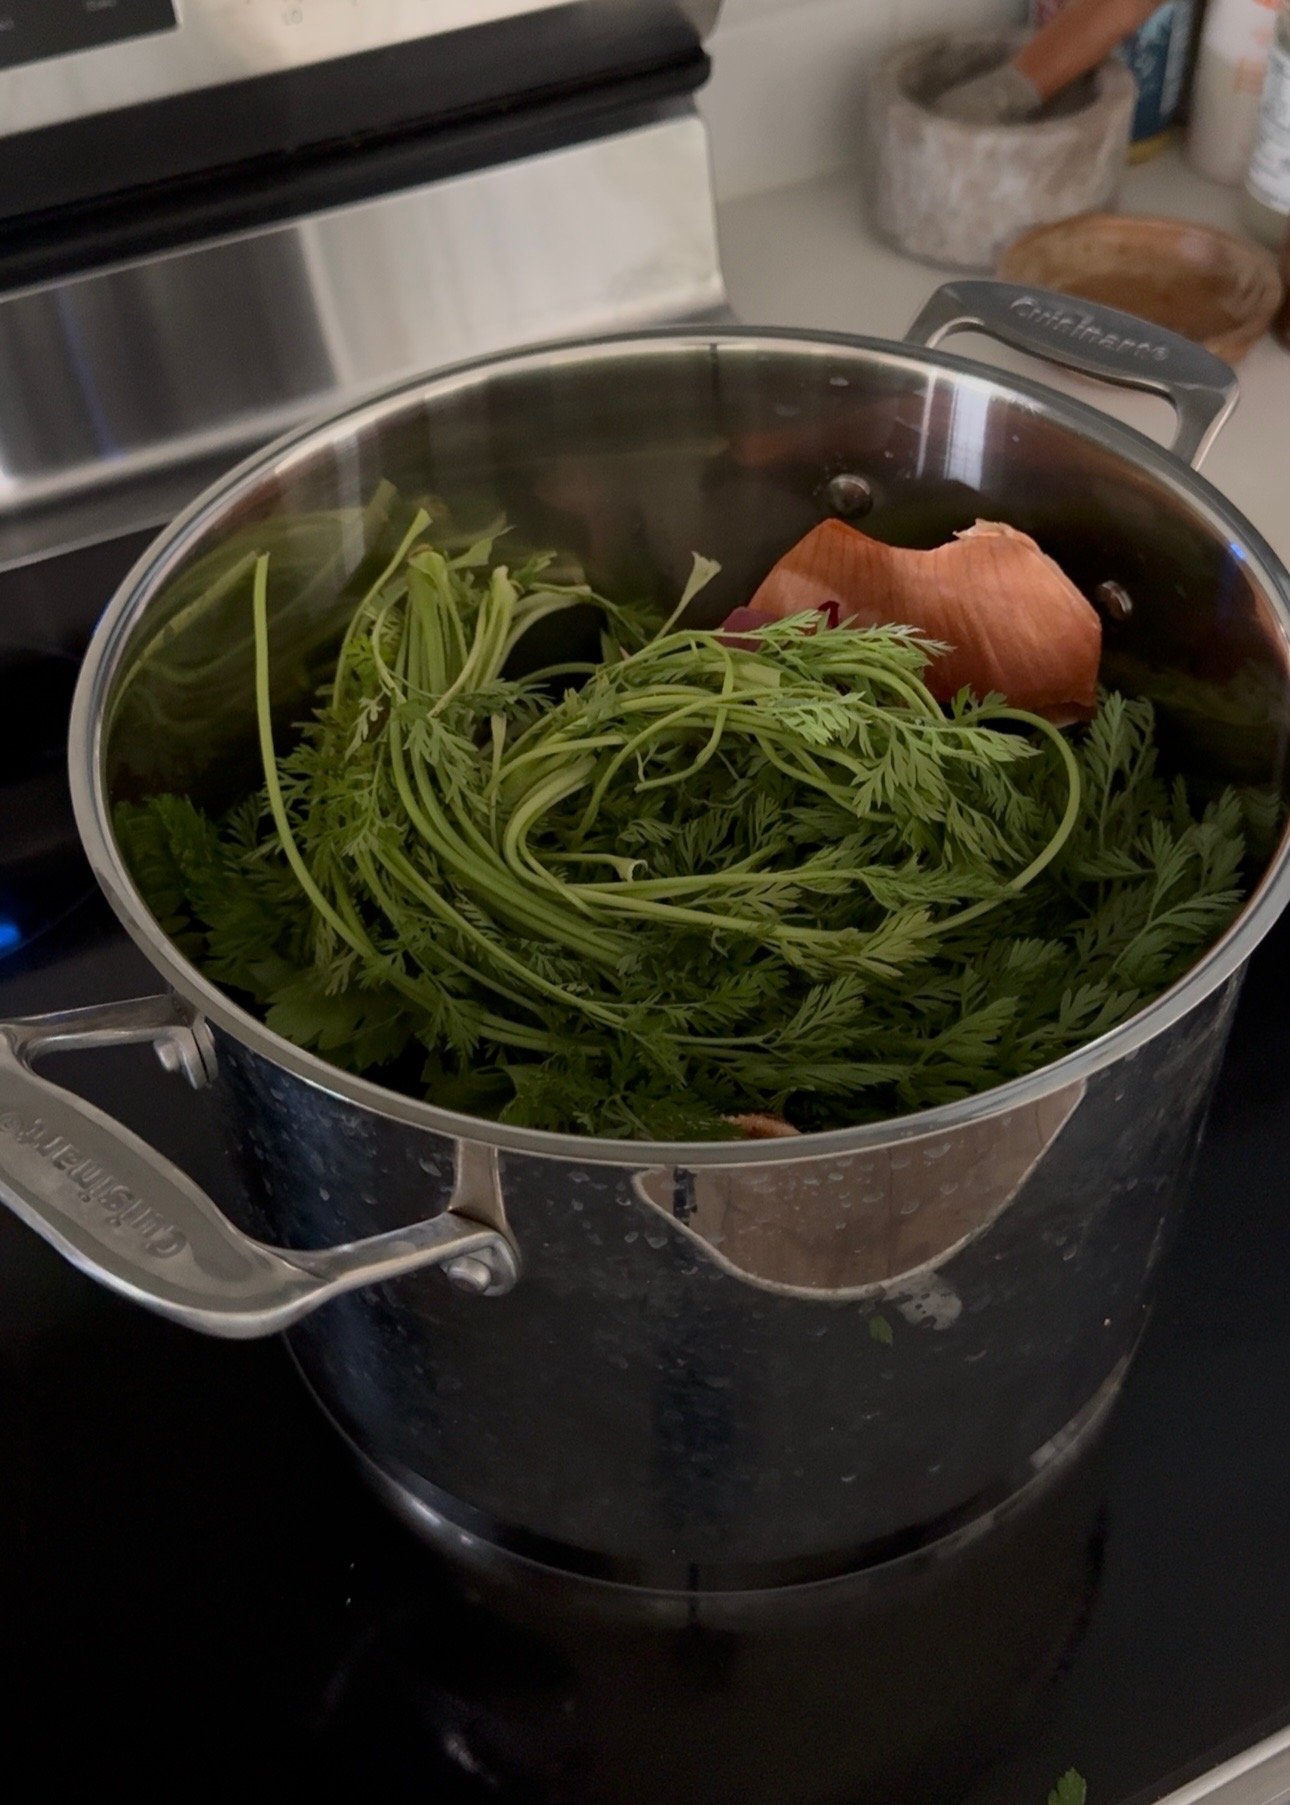
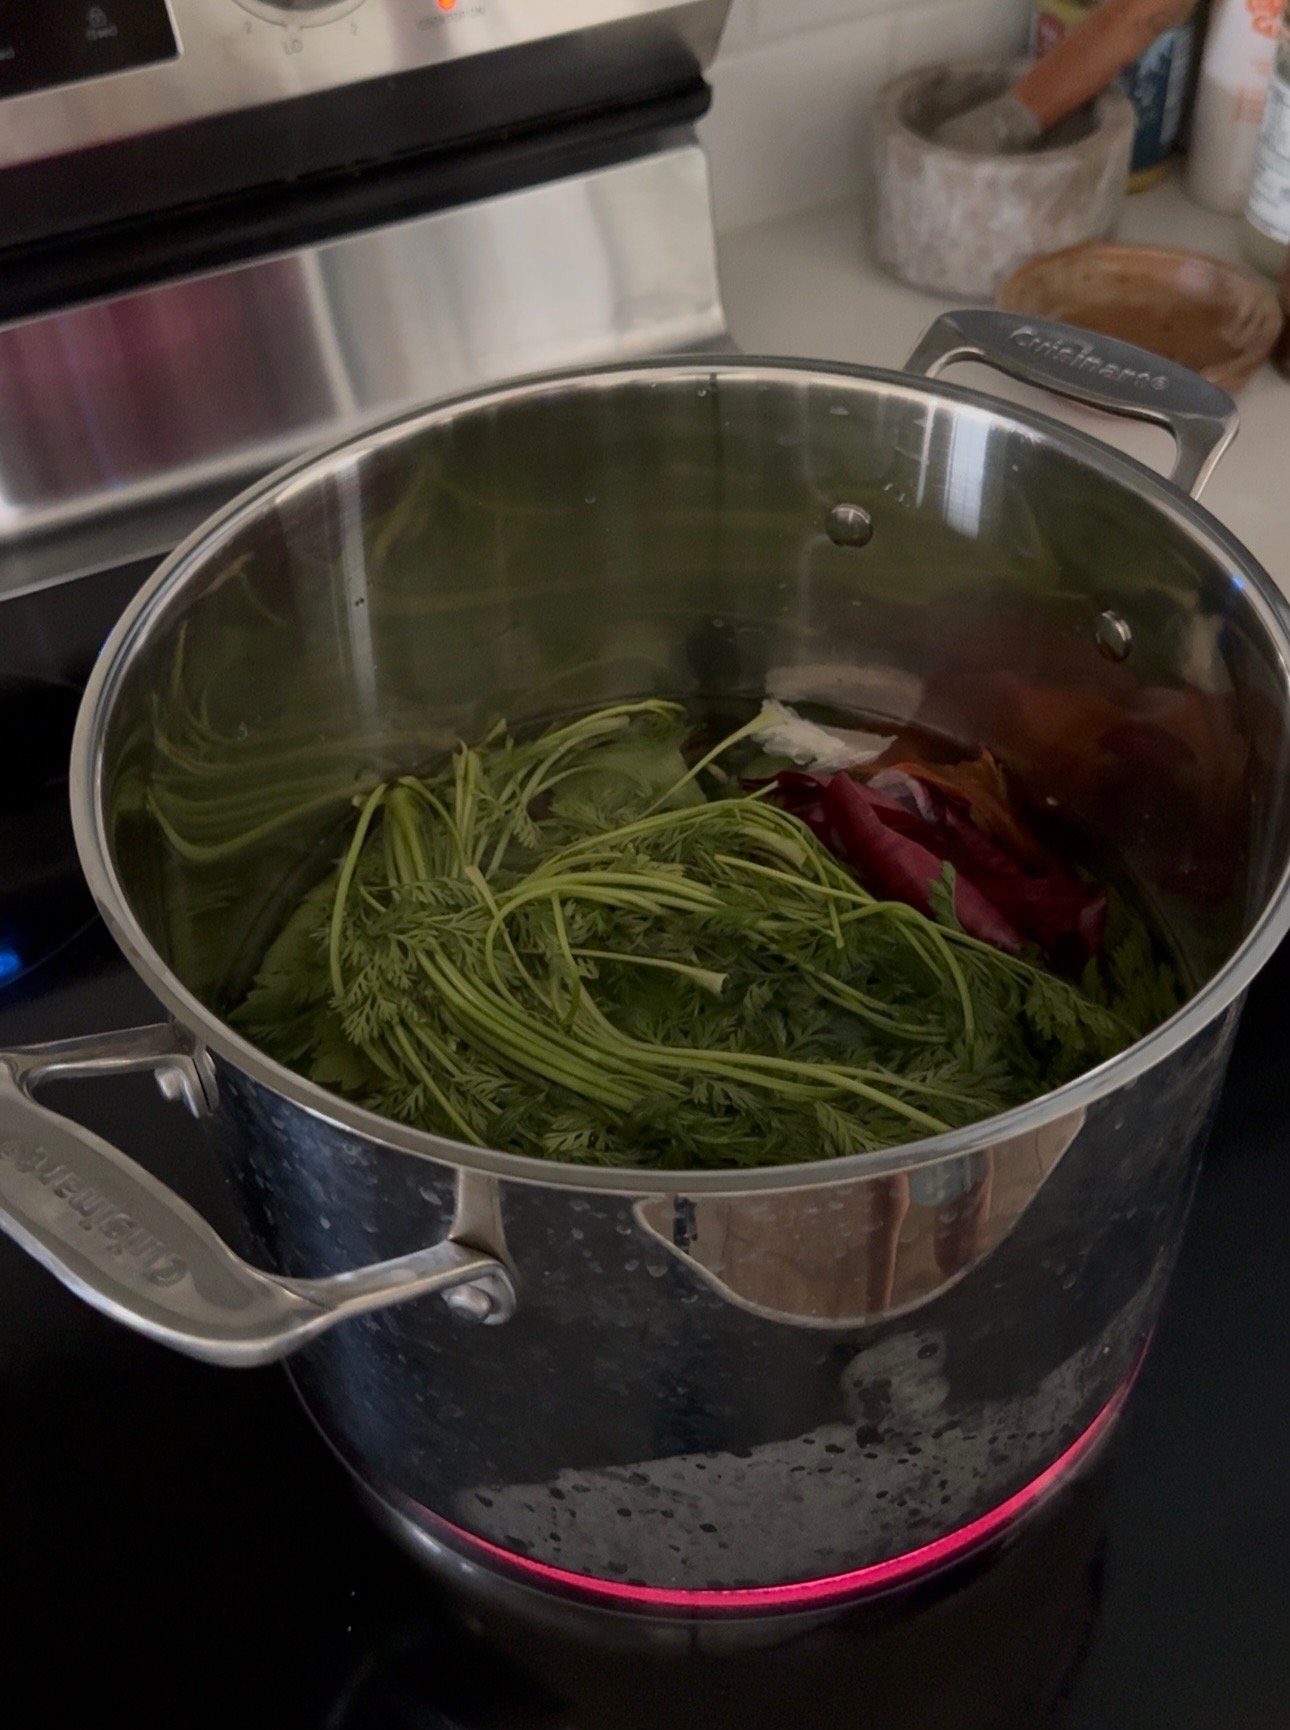
Making broth at home is actually quite simple and it doesn’t even require going to the store to buy new vegetables to make it. All you truly need is food scraps like carrot tops and skins, peels and odd ends of onion, celery leaves and odd ends, etc. Making broth at home is as easy as tossing food scraps into a large pot with water and letting it simmer for a few hours before straining.
To get started, I recommend purchasing a reusable silicone bag like this one here to stash in your freezer. This is a great place to store food scraps as you go throughout the week. Storing them in the freezer will keep them from rotting in the fridge and help to maintain their freshness. When cooking, I recommend setting out a bowl next to your cutting board to chuck your scraps into so you can easily transfer everything into the freezer bag when you’re ready.
While it is very easy to make broth at home there are a few things to keep in mind when getting started. The first thing to keep in mind is what vegetables work. Some vegetables can make your broth bitter and should be avoided.
The foods like work best for broth
Foods like mushrooms, tomatoes, carrots, potato, celery, onion, collard greens, garlic, leeks and zucchini work great. You can use every part of the vegetable in the broth (the greens, the skins, the odd ends, etc.). Freeze your odd bits, that would otherwise get tossed into the trash, as you’re chopping vegetables during the cooking process and add them to your freezer bag for when it is time to make your broth. I also suggest adding any vegetables that haven’t been consumed by the end of the week, such as random tomatoes and mushrooms that went unused, into the freezer bag as this will help reduce waste. Fresh ginger and turmeric can be great additions to broth! I love adding a little piece of turmeric to mine to give it a beautiful rich color and for anti-inflammatory properties.
The foods that don’t work well
Not all foods work well. Cruciferous vegetables like brussels sprouts, broccoli, kale and cauliflower will make broth bitter. Citrus like lemon, lime, orange, etc. can also make broth bitter. I also recommend steering clear of any vegetable that you wouldn’t typically cook such as cucumber, lettuce, radish, etc.
I recommend making your broth on a day where you will have a few hours at home as you will be leaving it to simmer on the stove top for a while to develop flavor.
For my homemade broth I typically use about 4-6 cups of food scraps and 64 oz of water. This fills about 2 32 oz. milk bottles. You don’t need to measure out everything precisely. Just remember that adding too much water can result in a watery broth. I don’t think you can add too many vegetables. In fact, the more vegetables you add, the richer the flavor will be!
To strain your broth, I suggest using a bowl with a spout. This will make it easier to transfer the broth to your jars or milk bottles. If you don’t have a spout, use a ladle to pour the broth into your jars.
To make your broth
Heat a large pot over medium heat. Add all of your food scraps and water to the pot. Let it come to a boil then cover and reduce to a simmer. Simmer for 2-3 hours. Place a colander inside a large bowl. Then carefully pour the broth into the colander. Carefully remove the colander from the bowl. Then begin to transfer the broth into jars. Let it cool, cover and store in the fridge for up to a week.
You can use this broth in soups and wherever else you would typically use broth. I do suggest using it in place of water when cooking rice and quinoa as this will make them significantly better.


